POPular art?
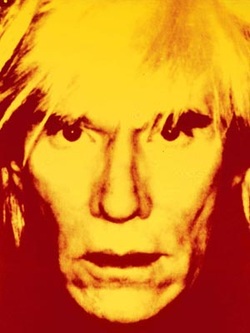
For this project, we will be creating a self-portrait-ala-Andy-Warhol. We will be making a piece inspired by the work of Warhol, a POP artist.
First, we need to do some research...
1. Create a new WEEBLY page titled Andy Warhol.
2. Make sure the top bar has related images.
3. Find an image of Andy Warhol's art work. Post this on your Andy Warhol page. Be sure to include the actual title.
4. Research Andy Warhol's life and work. Write 4-6 sentences that summarize this information. Be sure to have someone proofread your work as spelling and grammar will be included in your final grade. When writing this paragraph, consider the following questions:
What kind of work did he make? How did he influence contemporary art? When was he making work?
5. Write 4-6 sentences that critique his work. Consider the following:
What does it remind you of and why? What do you like about it and why? What do you think he was trying to say and why? WHY WHY WHY WHY WHY? A critique must always include the WHY...otherwise, your opinions are UNJUSTIFIED.
This writing is due by the end of class TBD.
By TBD, you will need to have a picture of yourself to work with in class. This image should be just of your face. We are going to use Photoshop to create our own version of the image below.

Here is a step-by-step guide for how to create this self-portrait-ala-andy-warhol.
1. Open your image in PhotoShop
1. Open your image in PhotoShop

2. Select the crop tool.
3. At the top of the screen, you will see two boxes where you can type the width and the height. Type in 4 for the width and 4 for the height.
4. You will also see a box that says Resolution. Type in 150.
5. Crop your image around the face.
3. At the top of the screen, you will see two boxes where you can type the width and the height. Type in 4 for the width and 4 for the height.
4. You will also see a box that says Resolution. Type in 150.
5. Crop your image around the face.

6. Make your image black and white by going to Image>Adjustments>Black and White>OK.

7. Posterize your image by going to Image>Adjustments>Posterize. Type in 4 in the levels box.

8. Create a new file that is 8x8 inches. Be sure that you type in 150 into the resolution box.
9. Go back to your 4x4 posterized image.
10. Grab your move tool and drag and drop the image onto your 8x8 canvas.
11. Hold the ALT key and drag out three duplicates of the 4x4 image.
12. Arrange them as shown below...
9. Go back to your 4x4 posterized image.
10. Grab your move tool and drag and drop the image onto your 8x8 canvas.
11. Hold the ALT key and drag out three duplicates of the 4x4 image.
12. Arrange them as shown below...

13. Grab your Magic Wand Tool.
14. At the top of the screen, there is a box that says CONTIGUOUS next to it. Uncheck that box.
15. Using your Magic Want Tool, click the lightest level of your image. The "dancing ants" should be around all the lightest layer.
16. Fill the area with a color of your choosing by going to Edit>Fill>Color...and select a color.

16. Deselect the area.
17. Grab your magic wand tool again. Make sure that CONTIGUOUS box is unchecked.
18. Select the second lightest area on your first portrait and fill it with a color as described before. You will be using a COMPLIMENTARY COLOR scheme(when an artist uses 2 colors that are across from eachother on the color wheel) in EACH of the four portraits. Before you choose your color, make sure you know what a COMPLIMENTARY COLOR SCHEME is...
List of Complimentary Color Schemes

19. Continue to select and fill each of the four layers on your first portrait. Be sure to choose colors that COMPLIMENT each other. These create CONTRAST within the image.
20. When you are ready to move on to the next portrait, be sure to select the correct layer.
21. Continue to select and fill each of the four layers on EACH portrait. Choose COMPLIMENTARY COLORS.
When you are finished...your self-portrait-ala-Andy-Warhol should look similar to this:
20. When you are ready to move on to the next portrait, be sure to select the correct layer.
21. Continue to select and fill each of the four layers on EACH portrait. Choose COMPLIMENTARY COLORS.
When you are finished...your self-portrait-ala-Andy-Warhol should look similar to this:
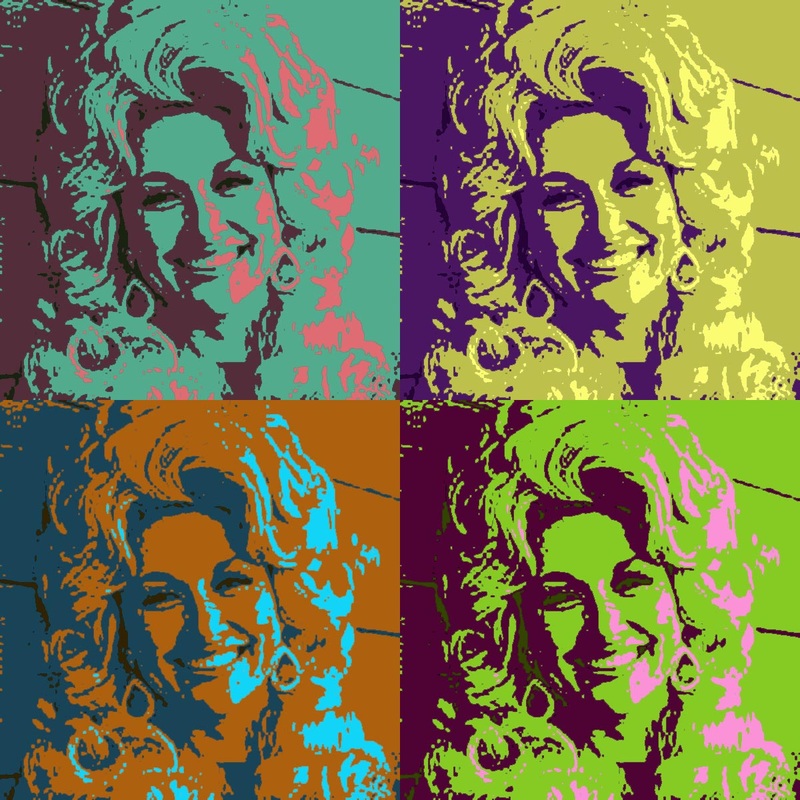
a dolly of a different color
By the end of class Wednesday, November 30, you will need to post your final self-portrait-ala-Andy-Warhol to your Andy Warhol page on your WEEBLY site.
Be sure your Andy Warhol page has the following:
1. Top bar with related images.
2. Your Andy Warhol research information.
3. Your Andy Warhol critique summary.
4. An image of Andy Warhol's work WITH the actual title of the piece.
5. Your ORIGINAL self-portrait photograph with a LABEL.
6. Your final self-portrait-ala-Andy-Warhol with a "museum title"
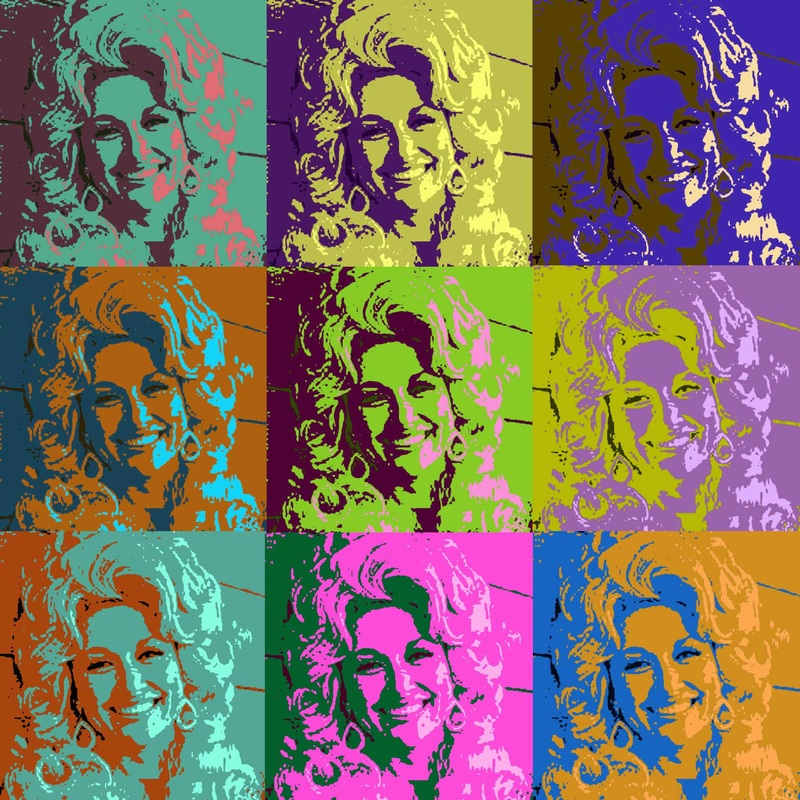
If you are ambitious...and would like extra credit...try seven levels instead of four...

a dolly of seven colors
Or...increase your canvas size and create more portraits. To increase the canvas, go to Image>Canvas Size then type in 12 by 12 inches. There is a box that says "anchor" that has a bunch of arrows. Click on the top left arrow to create space around your original portraits.